User docs
User Guide
A practical guide to sending signing requests, completing approvals, collaborating in secure chats, and organizing encrypted files in Blind Vault.
Summary
Blind Vault brings three everyday work areas into one privacy-focused workspace: Sign for document approvals, Chats for secure conversations, and Drive for encrypted folders and files.
Most work starts on the dashboard. Choose a module, complete the guided form, and use the activity and status views to see what needs attention next.
This guide explains the complete user journey for request owners, signers, reviewers, observers, chat participants, and Drive collaborators.
Key points
- Create a request from one or more PDF files, assign participants, place fields, and send it for action.
- Choose parallel or ordered signing when your plan and workflow require recipients to act in sequence.
- Use Inbox, Sent, Drafts, request History, and Audit to follow work from invitation through completion.
- Create encrypted Drive folders with read-only or read-and-write access for each participant.
- Use Chats for direct messages and channels, with search, archiving, replies, files, and notifications.
- Protect your account and signing work with your profile, security, organisation, and billing settings.
Start with the Dashboard
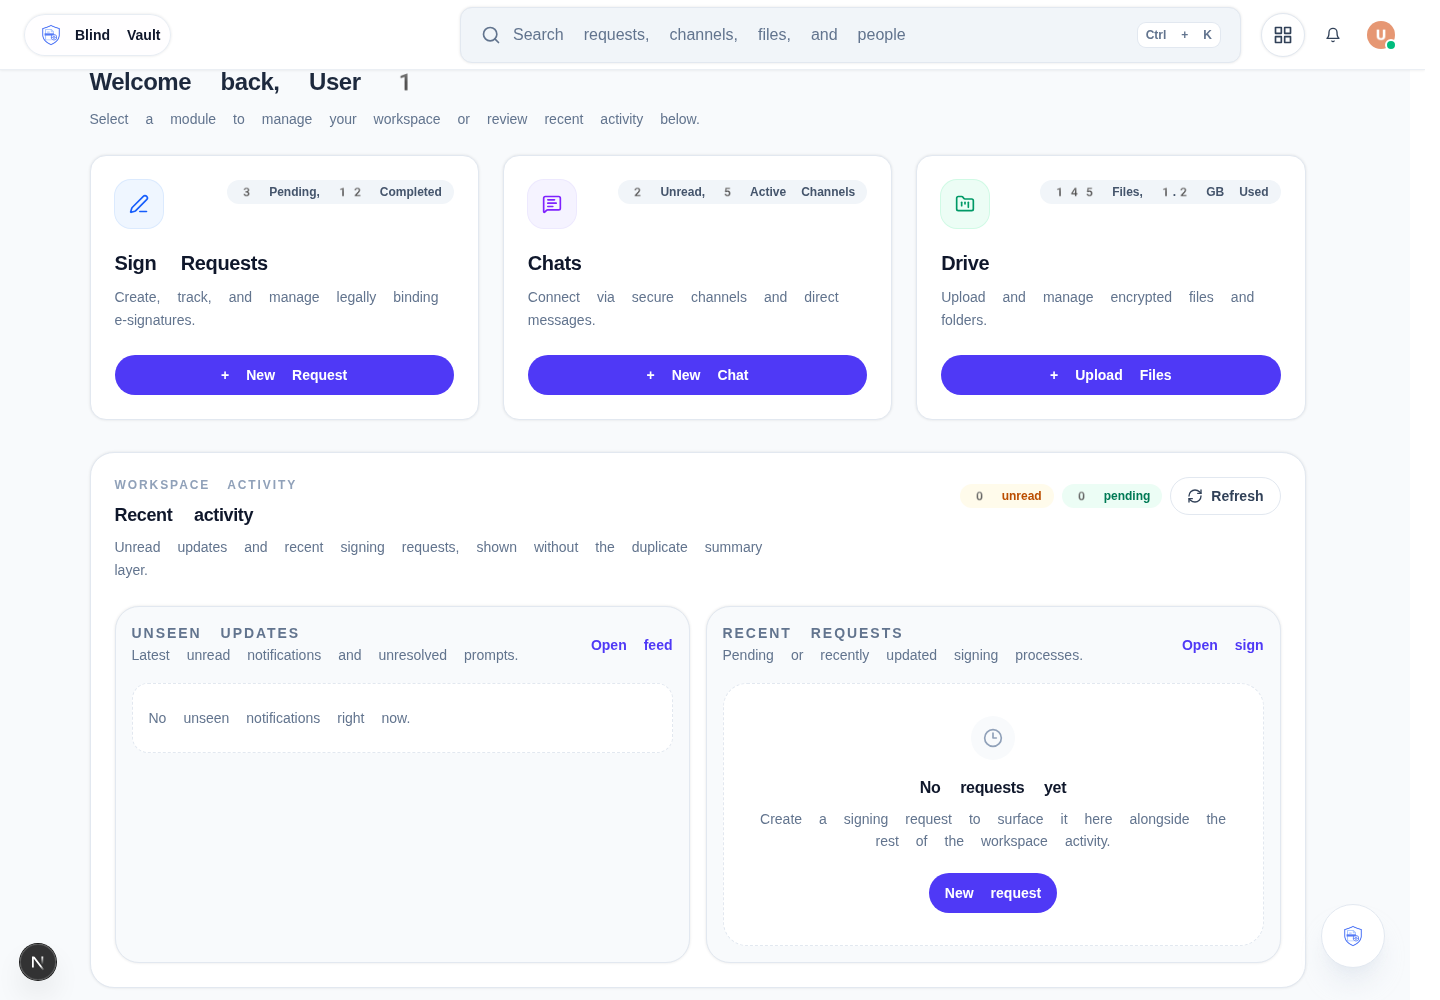
#After signing in, the dashboard is your starting point for the whole workspace. The Sign card takes you to signing requests, the Chats card opens secure conversations, and the Drive card opens encrypted folders and files.
Each card shows a compact status summary, such as pending and completed requests, unread or active chats, and file or storage usage. The recent-activity area helps you return to work you opened recently.
The dashboard assistant can help you find the relevant area or suggest actions such as drafting a sign request, finding an encrypted file, opening an active channel, or summarizing recent activity.
- Use the main navigation to switch between Sign, Chats, Drive, Inbox, Sent, Drafts, and settings.
- Open a recent item when you want to continue work; use the module's search, filter, and sort controls for older items.
- If a page asks for a passphrase, enter the one you created for your protected workspace and never share it with another person.
Create a Signing Request
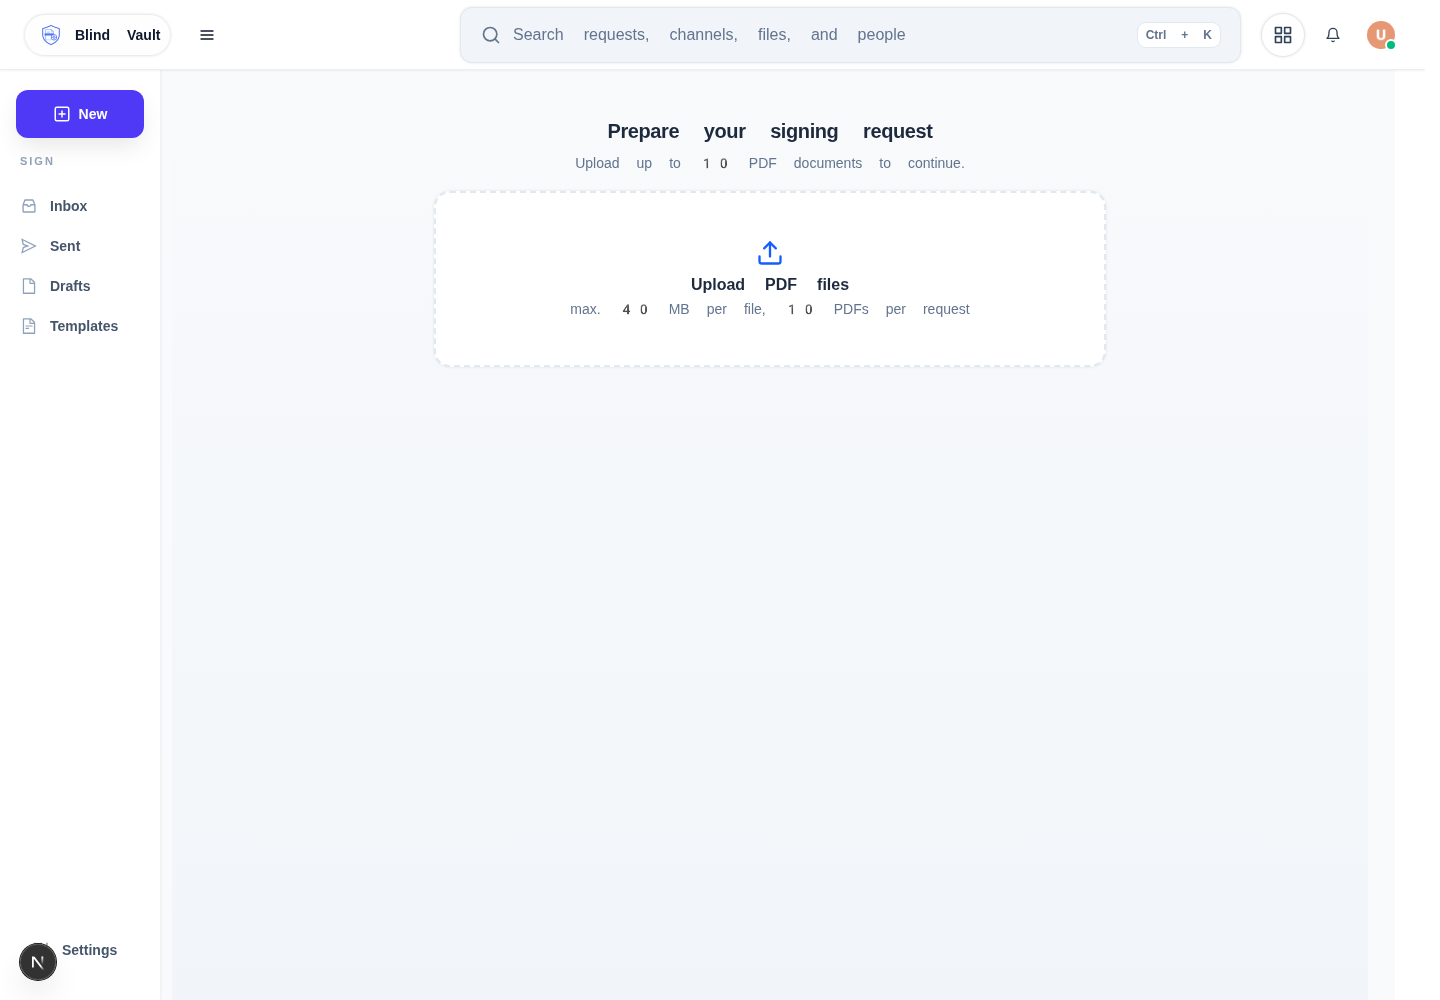
#Open Sign and choose New Request. The request editor is built around three stages: upload the PDF documents, define the request and participants, and place the fields that each person must complete.
Start by selecting the organisation that owns the request and entering a clear process name. Add an optional description so participants understand the purpose, deadline, or internal reference for the request.
You can work with up to 10 PDF documents, with a maximum of 40 MB per PDF and 400 MB total in the upload area. Only PDF files are accepted. Use Add files to include more documents, remove an individual document, or Download to retrieve the current set as a ZIP file.
- Give the request a name that recipients will recognise; avoid leaving it as an untitled request.
- Check the document order and make sure every PDF is the final version before adding fields.
- Select the correct organisation before sending. The organisation is required for a request owner.
- Save as Draft when the request is not ready to send, or Save as Template when you expect to reuse its structure.
Add Recipients and Fields
#In the Recipients panel, search for a user or enter an email address, then add that person as a Signer, Reviewer, Observer, or Host where the workflow supports it. Select a participant to make them active before placing fields for them.
Signers complete signature or form fields. Reviewers inspect the request and approve or reject it. Observers can follow the request without signing. A host can run a guided signing session with a guest on the same device or session.
With a participant selected, use the field palette to add Signature, Text, Dropdown, Date, or Checkbox fields. Drag a field to the correct place in the PDF, resize it, and open its properties to set the placeholder, options, required status, or formatting.
- Place at least one signature field for every signer on every document where that signer must sign.
- Mark fields Required when the recipient must complete them before submitting; leave them optional when appropriate.
- Use dropdowns for controlled choices, dates for dates, checkboxes for acknowledgements, and text fields for short or multi-line answers.
- Review the recipient list carefully: removing or changing an email also changes which person receives the assigned fields.
Choose Signing Rules and Send
#The request settings let you choose the signature level available to your organisation or jurisdiction. Read the information beside Signature level when you need to understand the available assurance options, then choose the level that matches your policy.
Signing is parallel by default: eligible participants can act when the request is available to them. Turn on Sequential signing when recipients must act in a specific order, then drag participants into the required order. Sequential signing requires at least two participants and may require a higher plan.
Signing assistance controls how the recipient is guided through the form. Required Only focuses on required fields, All Fields guides through every field, and No Assistance leaves navigation to the signer.
Before sending, verify the organisation, name, PDFs, recipients, field ownership, required fields, signature level, and order. Select Send only after the request passes validation. Blind Vault asks for a passphrase to encrypt the protected request and documents; sending cannot continue without it.
- If Send is disabled, check that a PDF, process name, organisation, and at least one signer are present.
- If the app reports missing signature fields, select the affected signer and add the missing signature field to each listed document.
- Use Save as Draft when you still need input from a colleague; drafts remain editable until you send them.
- Use Save as Template for a repeatable layout and recipient-field setup without sending the current request.
Sign, Review, or Observe a Request
#Recipients find requests that involve them in Inbox. Open a request to see its name, status, signature level, participants, completion progress, and available action. The available action depends on your role and whether a previous participant must finish first.
As a signer, select Open Sign or Sign, complete your assigned fields, and create or choose your signature. A signature can be typed, drawn, or supplied as an uploaded signature image. Complete required text, dropdown, date, and checkbox fields before submitting.
As a reviewer, select Open Review, inspect the documents and fields, then approve when the request is correct or reject it when changes are needed. Add an encrypted note when declining or rejecting so the sender understands what to fix.
As an observer, open the request to monitor progress and history. Observers do not complete signer fields. If you are the host, use Open Host to guide a guest through signing and follow the on-screen consent and passphrase controls.
- Signing assistance can show the next field and let you jump directly to it; use it to avoid missing required fields.
- Some signing actions require a six-digit one-time code. Enter the code sent to your masked contact channel, or choose Resend if it expires.
- If a key is pending, the sender may need to sync recipient keys before you can open or complete the request.
- Use Decline when you cannot participate. Confirm the action and include a reason where helpful; decline and rejection are different from signing completion.
Track, Edit, and Audit Requests
#Use Sign to see recent signing activity, Inbox to see requests requiring your participation, and Sent to review requests you created. Drafts contain requests saved before sending. Open a request to inspect its current status and participant progress.
The request detail view shows who has completed their action and who is still pending. Owners can resend an invitation to a pending recipient and include an optional encrypted note. Resending is available only while the request is open and has recipients who have not completed their action.
Open History to review the request timeline and download the available history record. Use Audit when you need the request's audit evidence and participant activity for a compliance or internal review.
- Use the request's human-readable tag when referring to it in another conversation or internal system.
- A terminal or closed request no longer offers open signing, review, host, or resend actions.
- Before editing a draft or request, confirm that you are the owner and that the request is not already closed.
- Treat downloaded documents and audit records as sensitive business data and store them according to your organisation's policy.
Organise Files in Drive
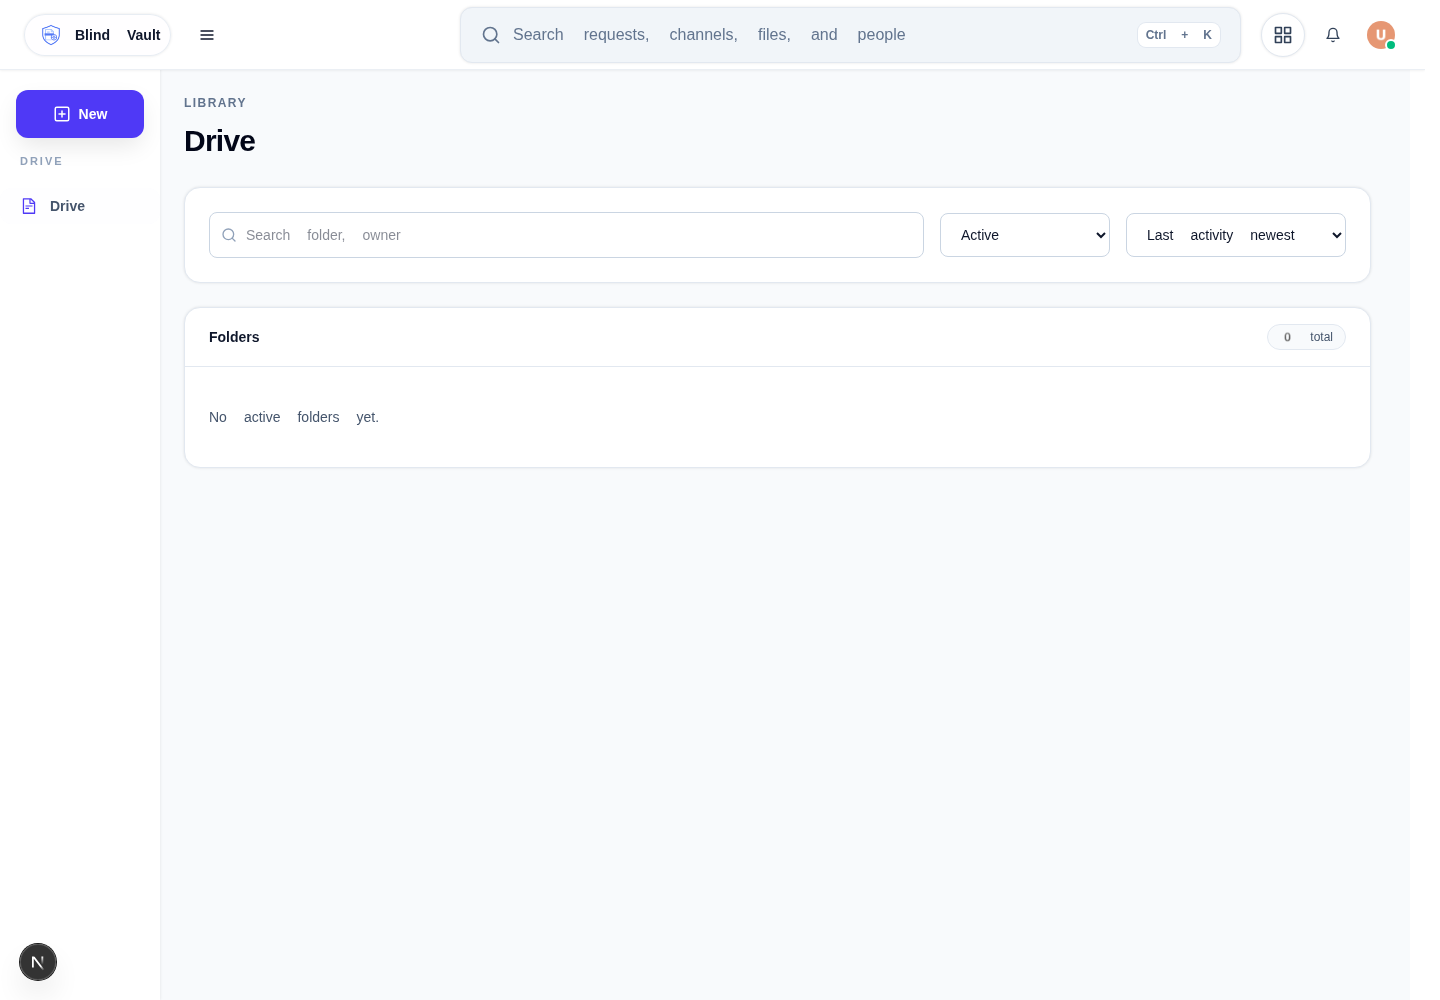
#Drive is the encrypted file library. The Drive landing page lists folders and lets you search by folder or owner, switch between Active and Archived folders, and sort by activity, creation time, or title.
Choose New folder to create a shared workspace. Select the organisation, enter a title, and add an optional description. Add participants by searching for a user or entering an email address, then choose Read only or Read and write access before creating the folder.
Open a folder to view and manage its files and participants. Depending on your permissions, you can upload or download files, edit the folder title and description, copy its tag, archive or unarchive it, delete files or the folder, and change participant access.
- Use Read only for people who should view files without changing the folder; use Read and write for collaborators who need to add or manage content.
- Search suggestions appear after you type at least three characters; select the matching person before adding them.
- Archive a folder when it should leave the active workspace but remain available in the Archived filter.
- Deleting a folder or file is a destructive action—confirm the target and make sure collaborators no longer need it.
Communicate in Chats
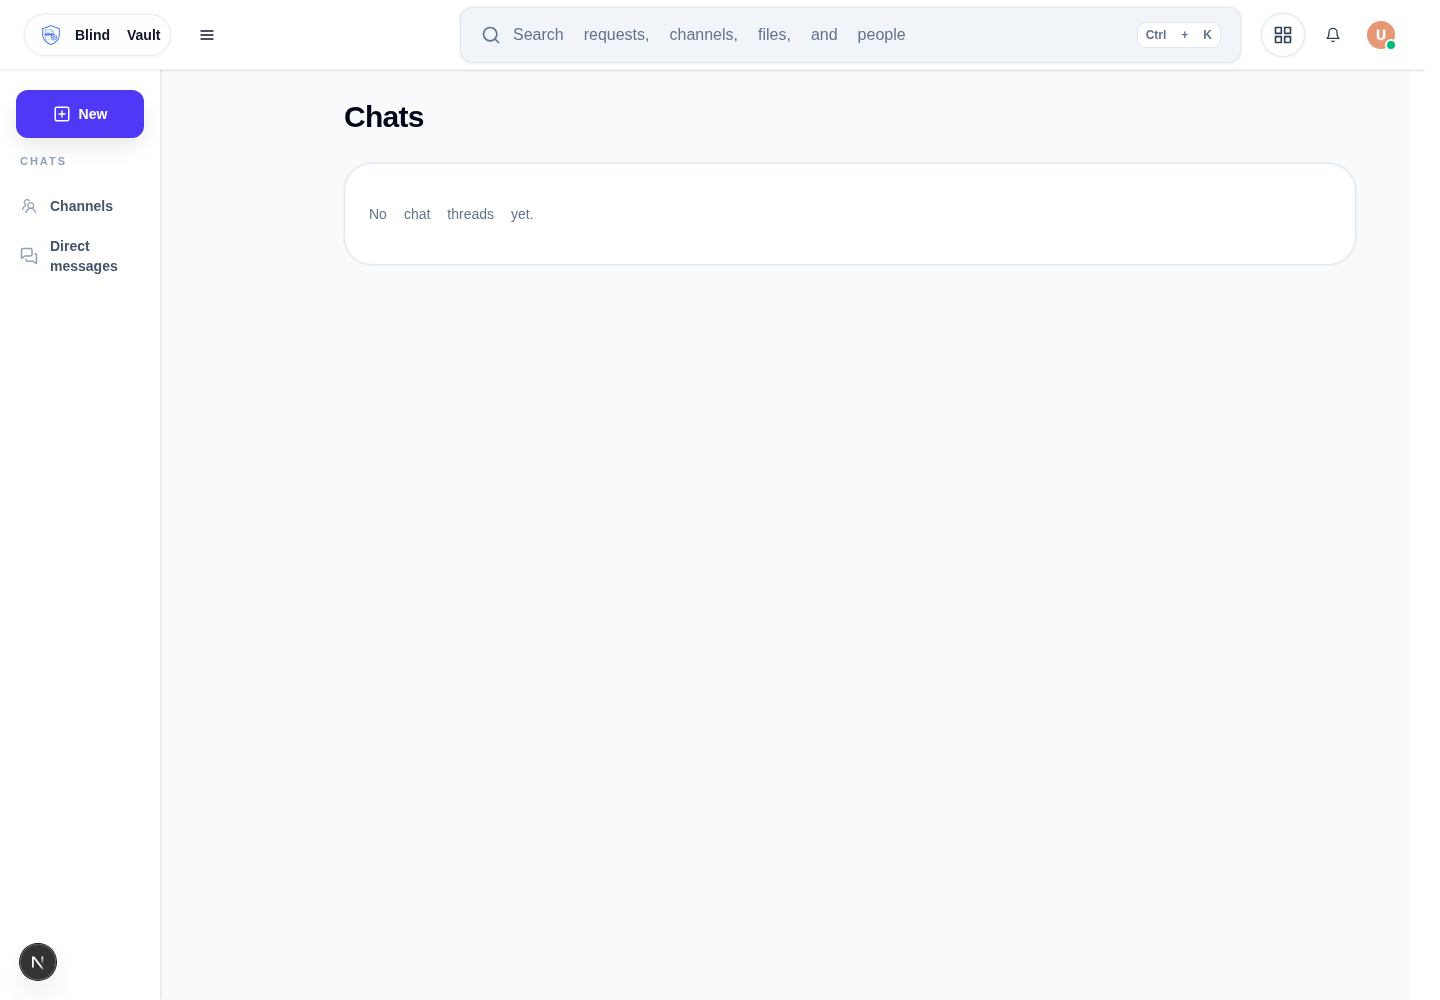
#Chats provides secure direct messages and channels. Use the Chats overview to see recent activity, then choose Messages for direct conversations or Channels for shared team discussions. Use New Chat, New Message, or New Channel to start a conversation.
When creating a direct message or channel, search for participants, give the conversation a clear title when applicable, and send the first message. In an open conversation you can write formatted text, mention participants, add emoji, and attach supported files. Replies and threads keep follow-up discussion tied to the original message.
The chat list supports search by message, channel, or participant, Active and Archived filters, and sorting by recent activity, creation time, or title. Open a conversation to read history, reply, manage participants where permitted, or archive it when it is no longer active.
- Use a direct message for a focused one-to-one conversation and a channel for a continuing group topic.
- Use mentions when a specific participant needs attention and check notifications for unread messages or mentions.
- Save a reply as a draft if you navigate away before sending; return to the thread to continue it.
- Use the conversation credit history and billing settings when your workspace tracks usage for Chats.
Profile, Team, and Security Settings
#Profile settings are where you keep your personal details and preferences current. Review your profile, language, notification preferences, and security information so invitations and approval tasks reach the right place.
Team and organisation settings control the people and workspace context used by Sign and Drive. Depending on your permissions, you may be able to manage users, agents, webhooks, security controls, billing, or organisation details. Ask an administrator before changing permissions or membership.
Signing and encrypted storage may ask for a passphrase, device trust, recipient key readiness, or one-time verification. These controls protect access to encrypted content and signing actions; support staff should never need your private passphrase or OTP.
- Use a unique passphrase and keep a secure recovery process for your team; losing it may prevent access to protected work.
- Complete key or device setup before sending or signing if the app says your key package is not ready.
- Review billing and usage before increasing activity, especially for signing, storage, or conversation credits.
- Configure webhooks or agents only when you understand the integration and have the required administrator access.
Troubleshooting and Support
#If a request does not open, first confirm that you are signed in with the account invited to it and that you have the correct role. If the page reports a missing key, wait for the recipient key to become ready or ask the sender to sync pending recipient keys.
If sending fails, check the PDF limits, required fields, process name, organisation, signer list, and passphrase. If a PDF already contains signatures, the app may require you to remove it or choose a compatible signature level. For a slow or interrupted upload, keep the editor open and retry rather than creating duplicate requests.
For product help, contact your Blind Vault administrator or the support/sales team through the site. Include the request name or tag, the affected module, the action you attempted, and the exact error message—but never include your passphrase, OTP, or private key material.
- Refresh only after checking whether the action completed; this prevents duplicate sends or messages.
- Use search and filters before assuming an item is missing; it may be archived or outside the current sort order.
- Record the request tag and approximate time when reporting an issue so an administrator can trace the event.
- For automation, integrations, and API request/response examples, continue with the Developer Guide and API Docs.